A week or so ago, my oldest was invited to a birthday party for a boy in her class. They only started 2 weeks ago, so I was a bit unsure of what to give, not knowing him or his family. You know how
some people expect a purchased gift for their child, and others feel like their kids already have too much
crap stuff, and so a simple gift (that they will actually play with for more than 8 seconds) is fine? Man, I was hoping that Jack was one of the latter, but I didn't know! I texted friends, I asked Instagram...what do you do for a 6 year old boy? Legos, books...all good, but it's more
stuff! Our children already have too much
stuff
Well, then I had a revelation. Jack's party was a super hero theme, and they asked guests to dress as their favorite superhero or princess for the party...a party at the park. In the middle of the day. I wasn't too keen on having my girls wear their princess dresses
to the park on a hot day! That's a recipe for misery and whining if you ask me! :) So I decided to make the girls a super hero cape, and one for Jack as well.
There was one thing I knew I wanted. Arms. I wanted the capes to attach on their arms, not their necks. I mean,
come on!! Kids run, and jump, and swing, and slide, and sit,
and sleep in their super hero capes, so
why would I want to have them attach at the neck? That's just crazy talk! So I hopped on over to Pinterest to find a tutorial for a cape with arms, and what do you think I found? Zip. Nada. Zilch. Well, that's not true. I did find
one tutorial where she made a cape for a toddler with a fat quarter. And it was what I wanted, but I didn't want to put in that much time and effort. I also found
another tutorial for up-cycling a man's t-shirt into a super hero cape, but it attached around the neck again. :-/ Drawing blanks...
I happened to be near a thrift shop, so I stopped and grabbed a few t-shirts, thinking there
had to be a way to make super hero capes that were easy
and fun! I washed them. No inspiration. I dried them. No inspiration.
I cut one up...
...pppppphhhhhbbbbbtttttt. Not quite what I was going for! (She was even less impressed than I was!)
And then after I put the kids to bed, I had an idea! What if...I cut the
collar to make the arms?! Could it work?
I commenced to cutting some more, and since the girls were in bed, I had to rely on an inferior model. One that seemed more compliant, though probably not as willing to run around the yard. ;)
So then I started to really pay attention to what I was doing so I could share it with you! Because while these are NOT going to be the best selling capes on Etsy, they
are good for playing in, and most kids need to play -
and imagine - more. Amen.
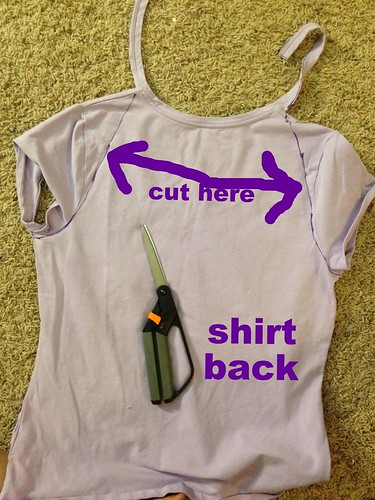
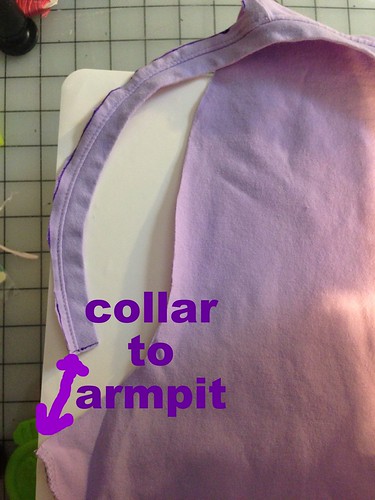
1. After you have washed your thrifted shirt, cut up each side to the armpit. If there is a seam, cut on the back side of the seam so it won't be there when the shirt becomes a cape.
2. My pictures don't
quite reflect this, because I figured it out later, but on the
back of the shirt, from the armpit, you want to cut
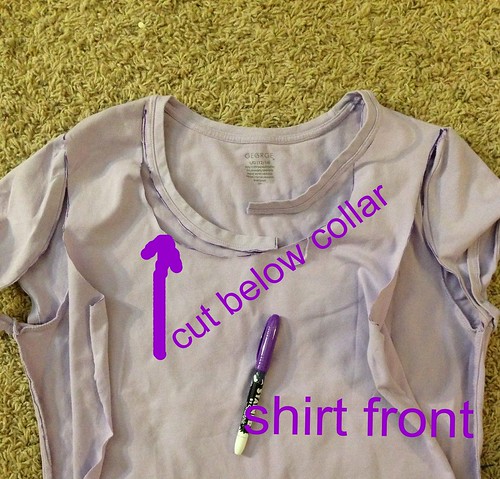
at an angle (see the purple marks) on the inside of each sleeve seam, up to the shoulder seam about an inch away from the collar, then crossing over the shoulder seam, cut along the bottom of the collar all the way around to the other shoulder seam. Go back to the center of the collar, and snip it right in half.
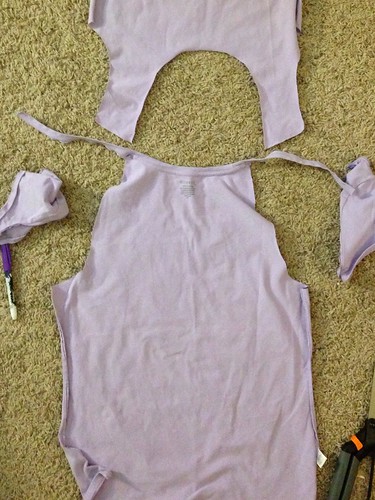
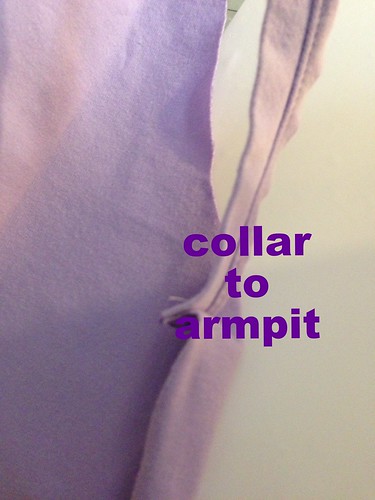
3. Now, rather than continuing down the front, which you can definitely do, I went back to the other armpit, and cut up to the shoulder seam at an angle, to the point where I had just cut under the collar. Hard to visualize, maybe, but this is what it looks like when it's finished.
You can also cut away the front, and
then the back (like I did in the pictures), but you can do it in fewer steps the way I just said.
4. Now that you've only got the back and the collar, it's time to make the arms. (I honestly can not tell you HOW excited I am that their capes don't have choke-collars!) Take the left collar-half, and bring it down to where the armpit met the side seam. There's a little corner there, and it's the perfect place to attach the collar. I measured each girl to make sure this location of attachment was good enough. It's not necessary, but I matched the outside of the collar to the outside of the t-shirt, and pinned them together. Then I went to the sewing machine and used a zig-zag/overcast stitch to fix the collar to the side seam. Repeat for the other side.
(not small enough!)
You can see below, I had to make some drastic modifications for my littlest one's arm holes. Attaching at the corner like I did with the others was just TOO big for her. This made it much more manageable. :)
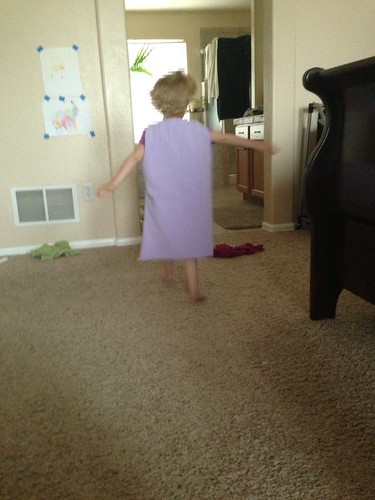
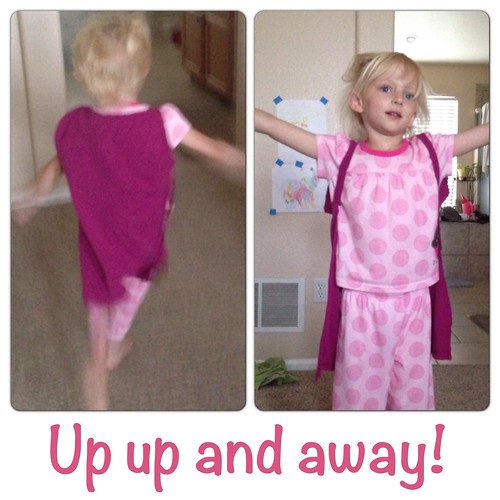
Here you can see my big girl modeling hers.
Much better this time! :)
After I got the capes made, next I had to embellish them and put shields on! I'm not going to go into that here -- this is long enough already -- but it was simple applique. I cut the shield shape out of freezer paper, and used it to cut my white out of woven cotton. The yellow (another thrifted t-shirt, of course!) and pink (from the front of her shirt) were knit, so I attached fusible interfacing (don't know the brand, sorry!), and then cut my shields out and ironed them onto the white. Then I cut out the letters, fusible interfacing again, and then sewed them all (1/8" seam allowance) to the capes.
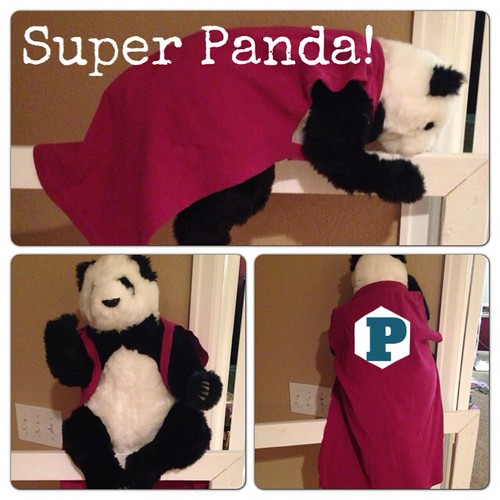
Here she is wearing her finished cape:
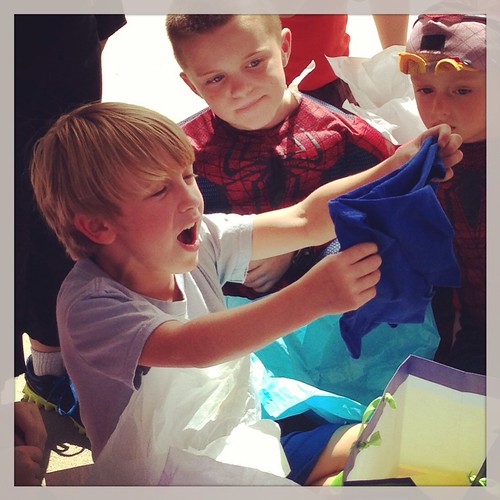
And here is the birthday boy opening it up, putting the "awe" in "awesome!". :) He had
great responses for every single gift.
There you have it! A super hero cape made in two days flat! ;-) (It won't take you NEARLY that long!)
I
know this is a long post, but I hope it makes sense! Give it a try! If you have any questions, let me know. I'm happy to help. :)
As I stated, I was inspired by those other two capes that I linked to. I have never seen a cape like the ones I designed, though I looked high and low. If someone else has already made one, I am happy to link to that tutorial , although I won't say I was inspired by them. Because I wasn't. :)
If you would like to notify me of another super hero cape like this,
please feel free to email me at the address listed in my profile. Thank
you for being polite.